
Hey there! As a supplier of sandpaper adhesive, I often get asked about how to apply it to textured surfaces. It's a crucial question, because getting this right can make a huge difference in the performance of your sandpaper and the quality of your work. In this blog post, I'll walk you through the process step - by - step, and share some tips and tricks I've picked up over the years.
Understanding Your Surface
First things first, you need to have a clear understanding of the textured surface you're working with. Textures is vary widely, from the rough and uneven surface of a weathered wooden plank to the fine, patterned texture of a metal casting. Different textures will require different approaches when it comes to applying sandpaper adhesive.
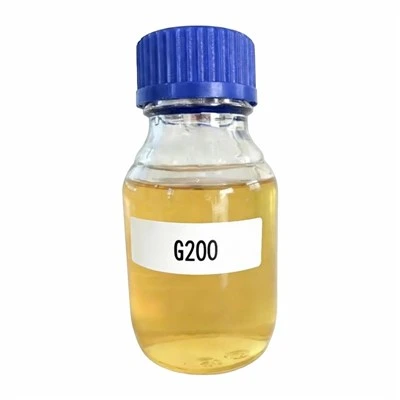
For really rough surfaces, like a piece of concrete or a heavily weathered log, you'll need an adhesive that can fill in the gaps and provide a strong bond. On the other hand, for finer textures, you want an adhesive that won't build up too much and will still allow the sandpaper to conform to the surface. That's where our Sandpaper Adhesive G200 comes in handy. It's designed to work well across a range of textures, providing a secure bond without being too thick or rigid.
Preparing the Surface
Before you even think about applying the adhesive, you've got to prepare the surface properly. This is a vital step that can't be skipped.
Cleaning: Start by cleaning the textured surface thoroughly. Dirt, dust, oil, and debris can all prevent the adhesive from bonding effectively. You can use a degreaser and a stiff brush to get rid of any grime. For metal surfaces, a wire brush can be great for removing rust and other contaminants. Once you've scrubbed the surface, rinse it off with clean water and let it dry completely.
Sanding (Yes, Sanding the Surface!): Paradoxically, sanding the textured surface a bit can actually improve the adhesive's grip. Use a coarse - grit sandpaper to lightly scuff the surface. This creates tiny scratches that give the adhesive something to "grab onto." Just be careful not to over - sand and change the texture too much.
Choosing the Right Application Method
There are a few different ways to apply sandpaper adhesive to a textured surface, and the method you choose depends on the size of the project and the type of adhesive you're using.
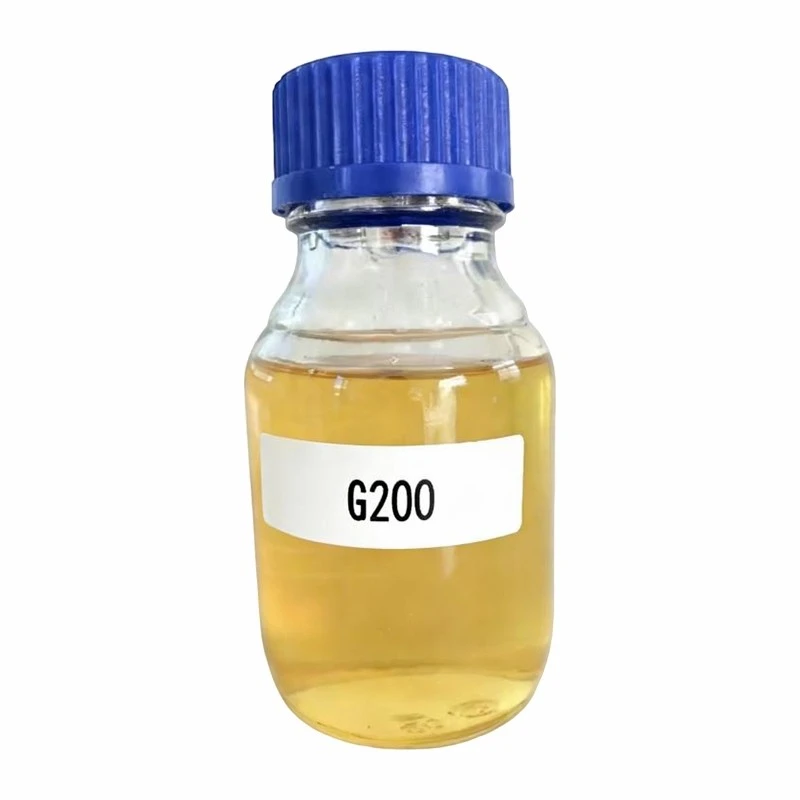
Brushing: For small - scale projects or areas with intricate textures, brushing on the adhesive is a good option. Use a high - quality paintbrush with stiff bristles. Dip the brush into the adhesive and apply it in a thin, even layer. Work slowly and make sure to get into all the nooks and crannies of the textured surface. Our Sandpaper Adhesive G200 spreads smoothly with a brush, making it easy to control the amount of adhesive you're applying.
Spraying: If you're working on a large surface, spraying the adhesive can be much faster. You'll need a spray gun specifically designed for adhesives. Before you start spraying, mask off any areas you don't want to get adhesive on. Adjust the spray gun settings to get a fine, even mist. Hold the gun at a consistent distance from the surface and move it in a steady, overlapping pattern. Spraying can be a great way to ensure that the adhesive covers the entire textured surface evenly.
Rolling: Rolling is another option for larger, flat - ish textured surfaces. Use a paint roller with a short nap. Pour the adhesive into a paint tray and roll the roller in it to coat it evenly. Then, roll the adhesive onto the surface in long, smooth strokes. This method can be quicker than brushing and gives a fairly uniform application.
Applying the Adhesive
Once you've chosen your application method, it's time to start applying the sandpaper adhesive.
Layer Thickness: It's important to apply the adhesive in a thin, even layer. A thick layer might take longer to dry and could cause the sandpaper to lift or bubble. With our Sandpaper Adhesive G200, you don't need a thick layer to get a strong bond. Just a thin film will do the trick.
Working in Sections: If you're working on a large surface, it's a good idea to work in sections. Apply the adhesive to one section at a time, and then immediately place the sandpaper on it before the adhesive starts to dry. This way, you can ensure that the entire surface gets proper coverage.
Pressing the Sandpaper: After placing the sandpaper on the adhesive - coated surface, use a roller or a flat object to press it down firmly. This helps to eliminate air bubbles and ensures that the sandpaper makes full contact with the adhesive. Start from the center and work your way out towards the edges.
Drying and Curing
After you've applied the sandpaper, you've got to let the adhesive dry and cure properly.
Drying Time: Drying time is difference and it depending on factors like the humidity, temperature, and the thickness of the adhesive layer. In general, most sandpaper adhesives, including our Sandpaper Adhesive G200, will dry to the touch within a few hours. But don't rush to use the sandpaper right away.
Curing Time: Curing is different from drying. During curing, the adhesive achieves its full strength. This can take anywhere from 24 to 48 hours, so be patient. Avoid put any stress on the sandpaper during this time to prevent the bond from weakening.
Tips and Tricks
- Test First: Before you start the main project, do a small test on a scrap piece of the same textured material. This allows you to see how the adhesive behaves and make any necessary adjustments.
- Store Properly: Keep your sandpaper adhesive in a cool, dry place. Exposure to heat and humidity can affect its quality and performance.
- Use Gloves: Sandpaper adhesive can be messy and might cause skin irritation. Always wear gloves when handling it.
Conclusion
Applying sandpaper adhesive to a textured surface might seem like a challenge, but with the right approach and the right product, it can be a breeze. Our Sandpaper Adhesive G200 is designed to make the job easier and more effective. Whether you're a professional woodworker, a DIY enthusiast, or someone working on a small home project, we've got you covered.
If you're interested in purchasing our sandpaper adhesive or have any questions about its application, don't hesitate to reach out to us for a friendly chat and a procurement discussion. We're here to help you find the best solutions for your needs.
References
- "Adhesive Application Best Practices" - Industrial Adhesive Handbook
- "Textured Surface Preparation Techniques" - Surface Finishing Journal